First of all, how to start an online store, otherwise, how to get the domain and hosting required for that has been published in articles in our blog. You can inquire about it. Here we will see step-by-step how to start an online store.
WordPress Install
To install WordPress, we first need to go to the c panel. When you get the hosting, the login details will be sent to us through Gmail along with the hosting. So after logging into the c panel using those details, we will see the c panel as below.
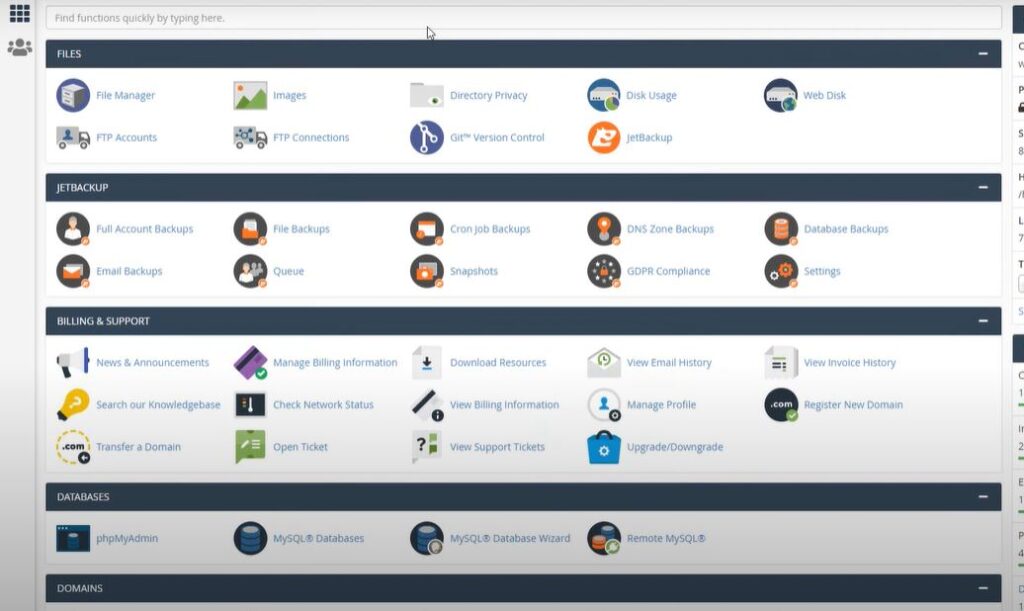
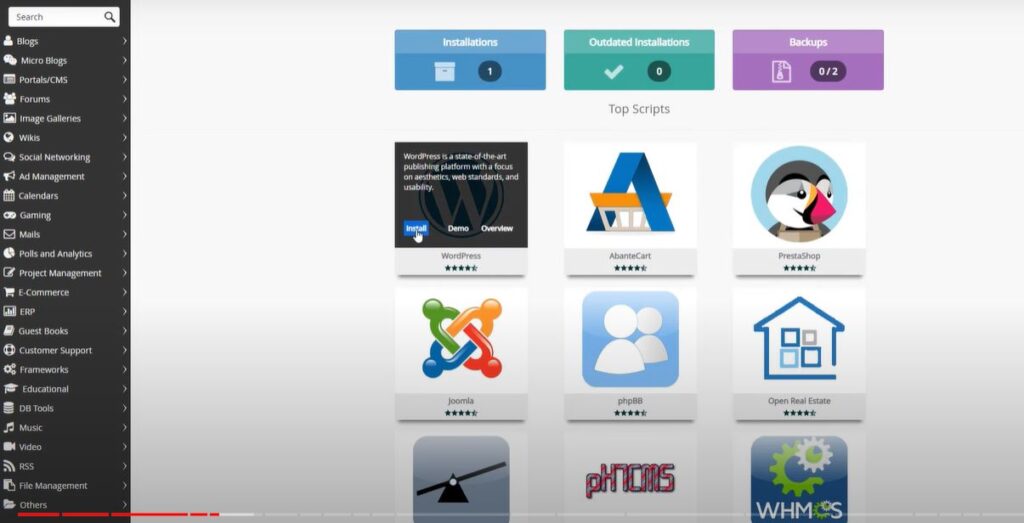
So, if you go down a bit, it says software apps installer under software. Click one. Otherwise, in other words, search for “app” in the search bar above, and then you can go to the relevant place. Then it appears to us as follows. Click on WordPress there.
After giving it, you need to make some options before installing WordPress. First select the version, then the protocol and the admin username. Then use the site name, admin username, and password (don’t forget to put a strong one) and click the install button below. Then we can see how to install WordPress as follows.
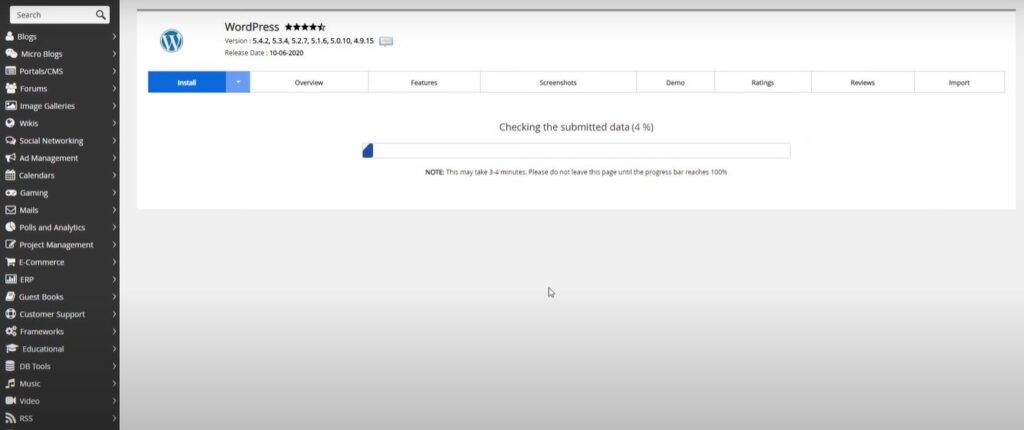
After it is installed correctly, it says congratulations, the software was installed successfully. After that, we can start building the online store.
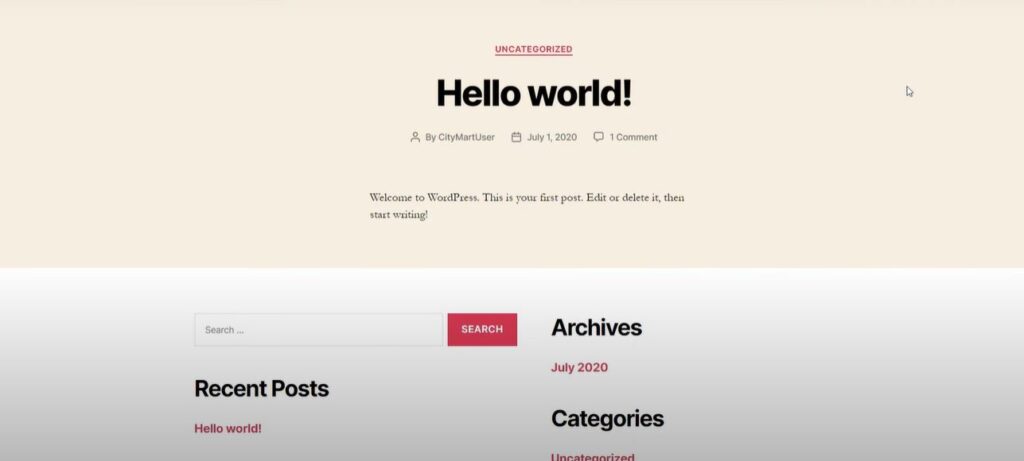
After installing WordPress, the website will be displayed as above, and if it is not displayed like this, try refreshing after some time. (This is because the name servers have not been updated). If the website you created is not viewed like that, you can go to the kproxy.com website and type the domain to check whether the work is done correctly or not. If it is viewed like that, we can know that your website is built in the right way.
So we control the WordPress site through the WordPress dashboard. So we go together using the URL your-domain/wp-admin. We are given the username and password to log in.
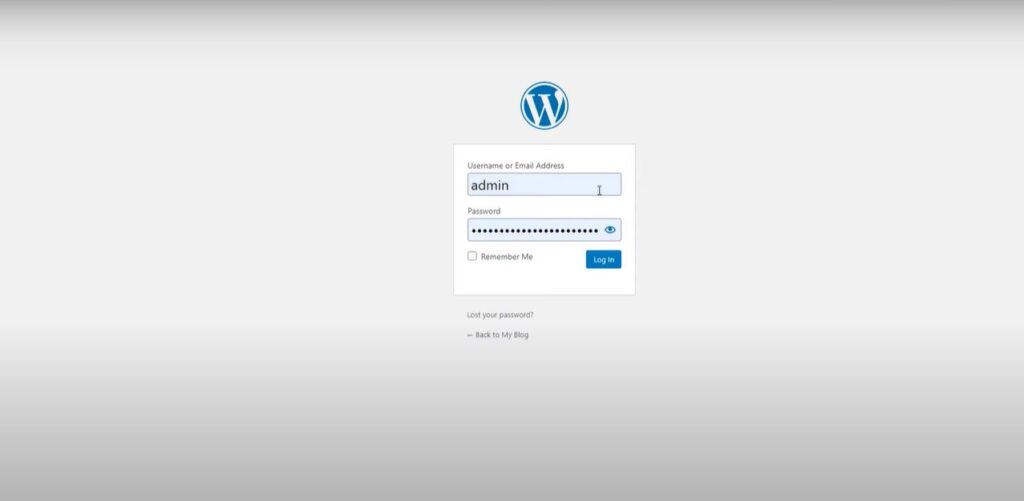
WordPress Dashboard Login
After that, you can log in to the dashboard. All parts of the website are controlled from here. You can use the settings on the left side of the dashboard to remove the unnecessary things that come by default. (only if you want)
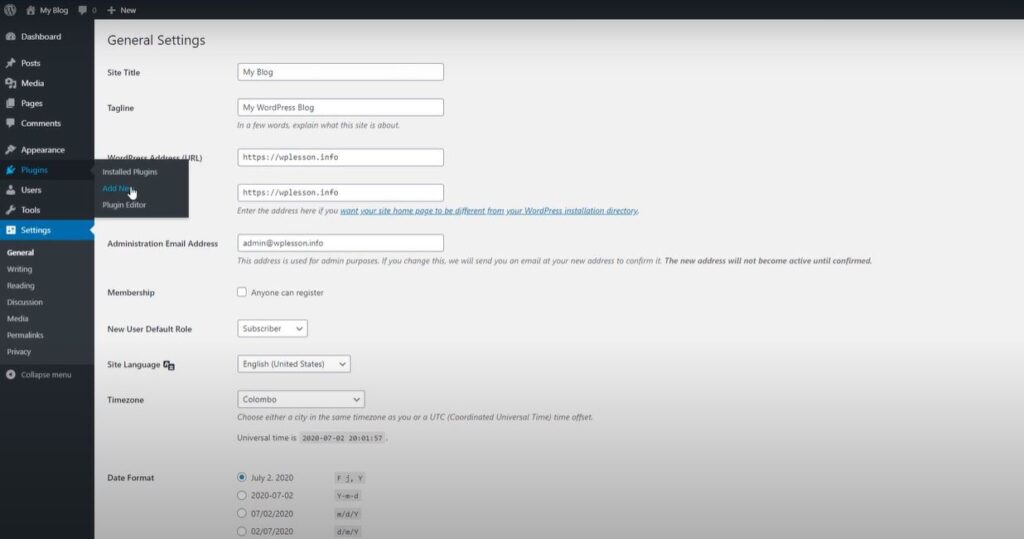
For example, delete the default post in the post. Delete the page in the pages. Then go to themes under appearance and delete default themes. Then go to settings and change the site title and tagline in general as appropriate. Another one is to enter an admin email. You can save it later.
Add woo commerce
Now let’s add the e-commerce functionality to the website. For that, we use the plugin called woo commerce. Themes and plugins are two of the best things in a WordPress site. The structure is determined by the theme. The plugin adds more functionality to the site. So those two are the two most valuable parts of a website.
So let’s add the woo commerce plugin. For that, click add new plugins in the dashboard. Then it will appear as below.
Then search for woo commerce. Then you can install and activate it.
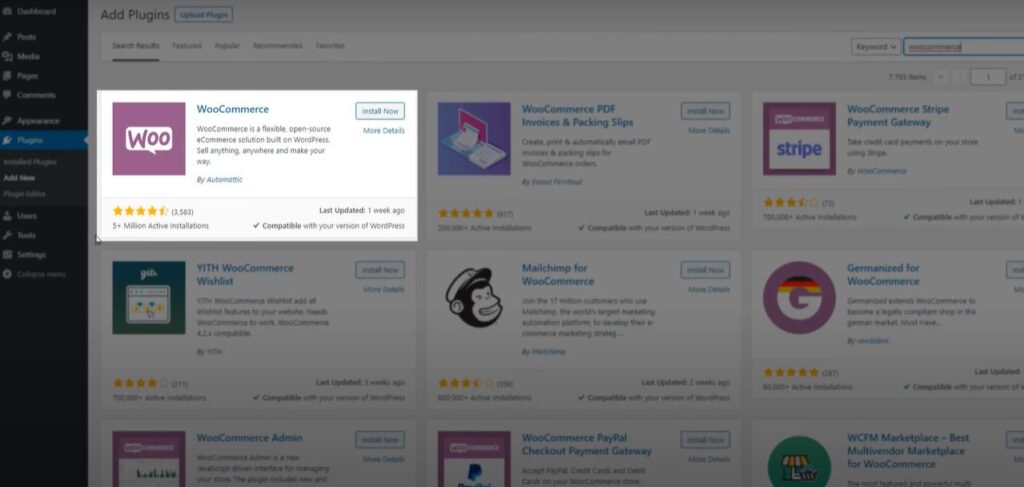
It can be further known that the installation is more than 5m. So, 30% of the websites made with this e-commerce plugin exist on the internet. It means that this is a good platform. So after activating the plugin, you will be taken to a small setup.

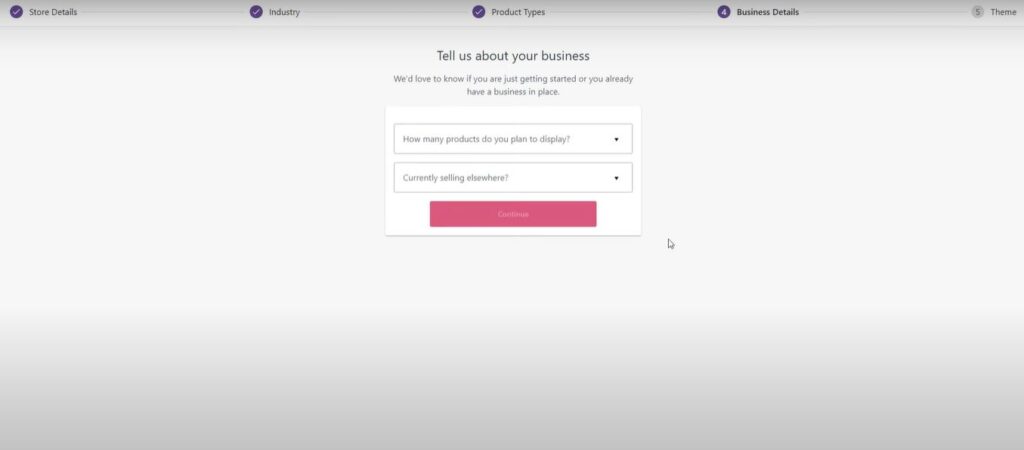
First click yes please as shown in the image above. That is store details, industry, product types, and business details. First, let’s consider the store details. Enter the address and postcode and continue. After that, we are taken to the second step, the industry. You can select the products related to the category you want to sell in your store. Select the relevant type and then continue. Then in the third step, they ask what kind of products are being sold. (physical products /downloads) So set it up correctly and continue. Then, as the last step, the details of your business will be asked. Choose how it suits you and continue.
Finally comes choosing which theme to use for this. So there is a free theme here. You can choose a suitable one from there. If not, we can use even a paid theme. So, since we will install the theme in the future, select continue with my active theme here and proceed. After that, give no thanks to the next window and continue.
Theme Install
Now we have the e-commerce functionality on the website. Now you can start adding products to our online store. Before that, let’s install a theme suitable for our online store. For this, we use the flatsome theme. You have to pay a small amount for that. It can be said that this is a very appropriate theme used to create an online store. I will put the link below for your convenience.
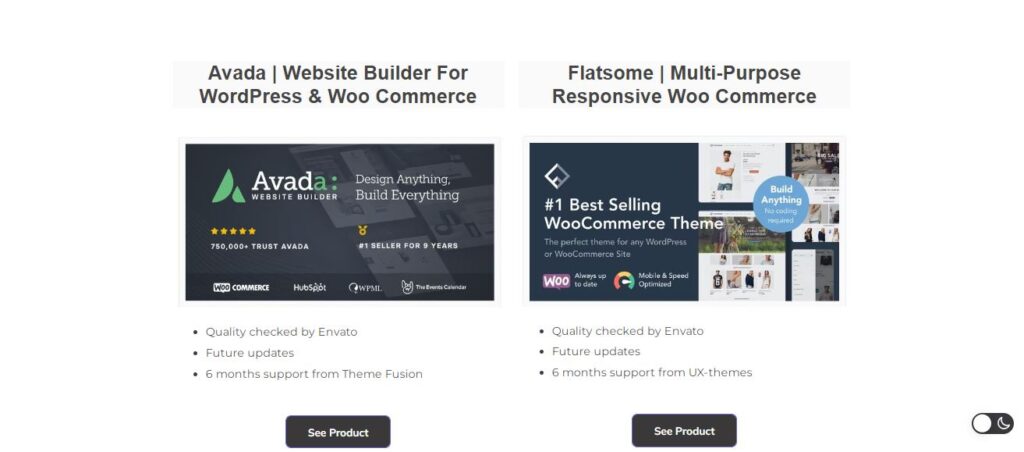
https://everbestblog.com/themes-plugins/
This is actually quite an investment. But even using a free theme, you can create an online store very easily. So let’s see how to install the purchased theme. For that, first, you need to go to the themes of appearance. Then give add new in the top left corner.
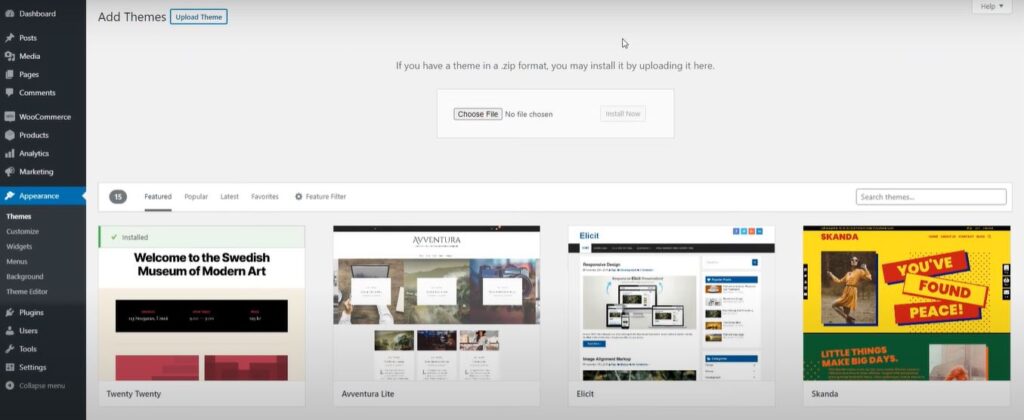
Then put the upload themes and press the install now button. After that, the installation of our theme will begin. After uploading and installing, it will be displayed as below.
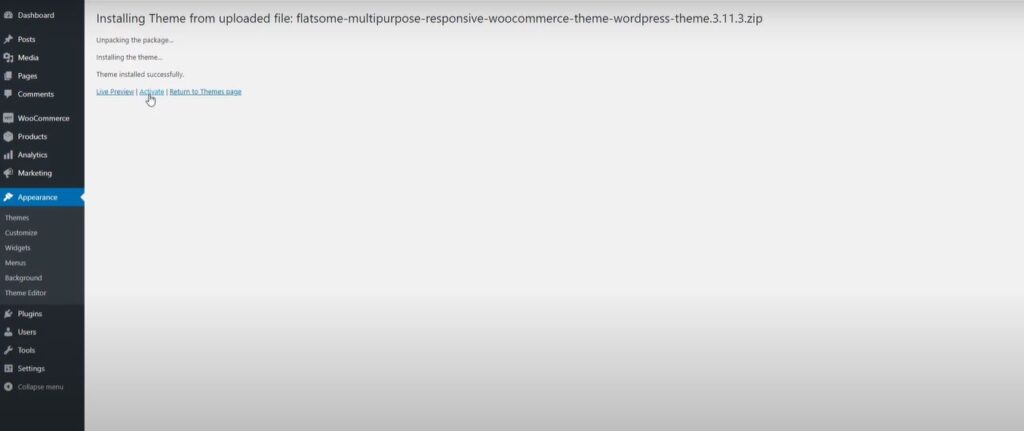
It can be activated after displaying as above. After giving active it takes us to a setup process. Its beginning looks like the below. Then click let’s go.
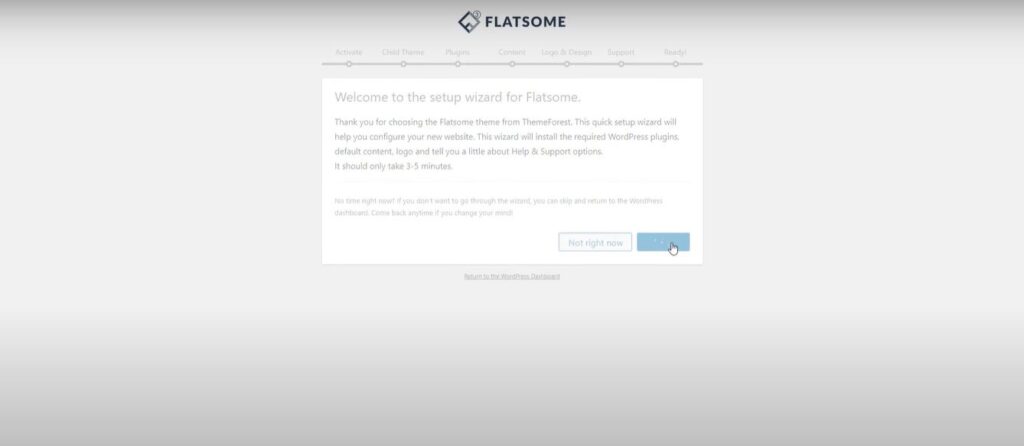
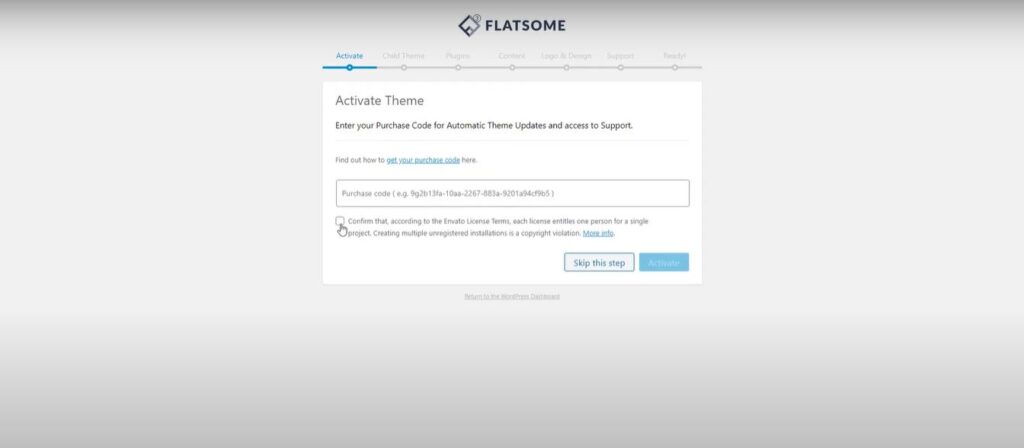
When you buy the theme under the first activation step, you will get a code. Mention it here and confirm tick and click activate.
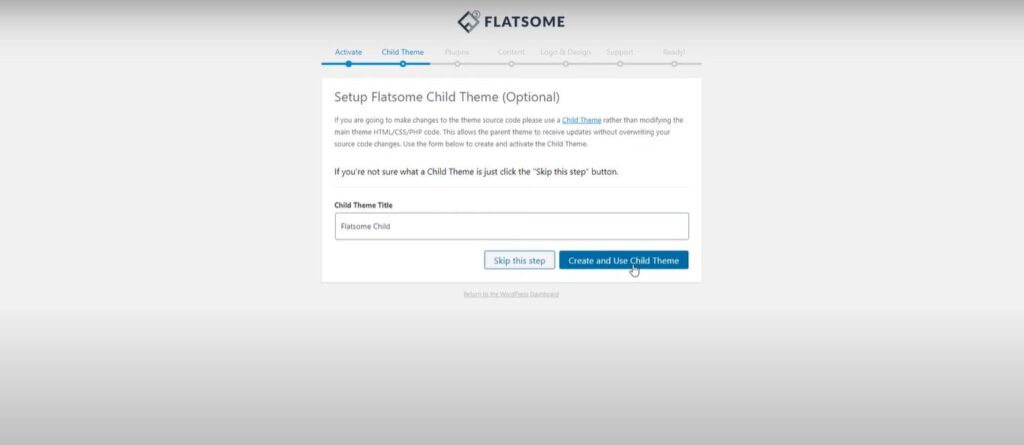
Then go to the child theme step and click on create and use a child theme in flatsome child and continue. Here is the importance of using a child theme. That is, if we add some CSS to our website and then update the theme, the previously added CSS may be lost. So it is good to use this.
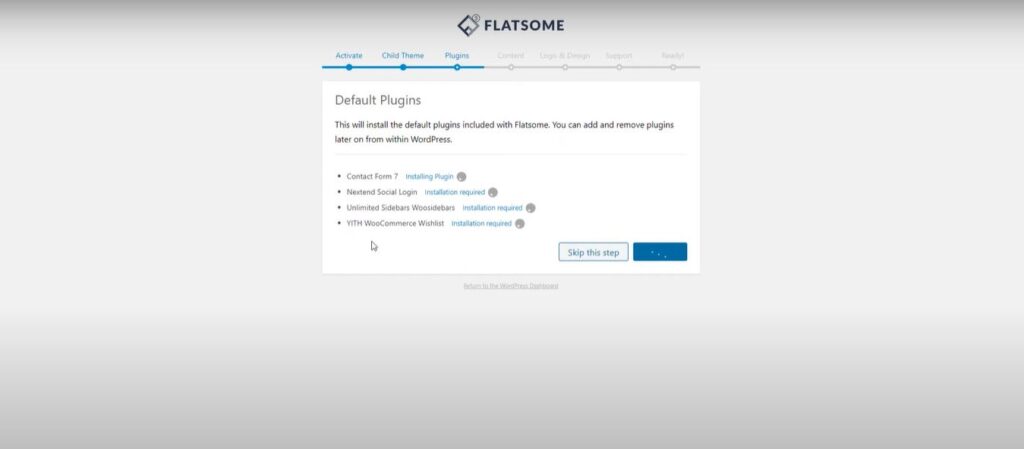
Then give continue. Then go to the plugin step in the same way and give continue. Then all the plugins will start to install.
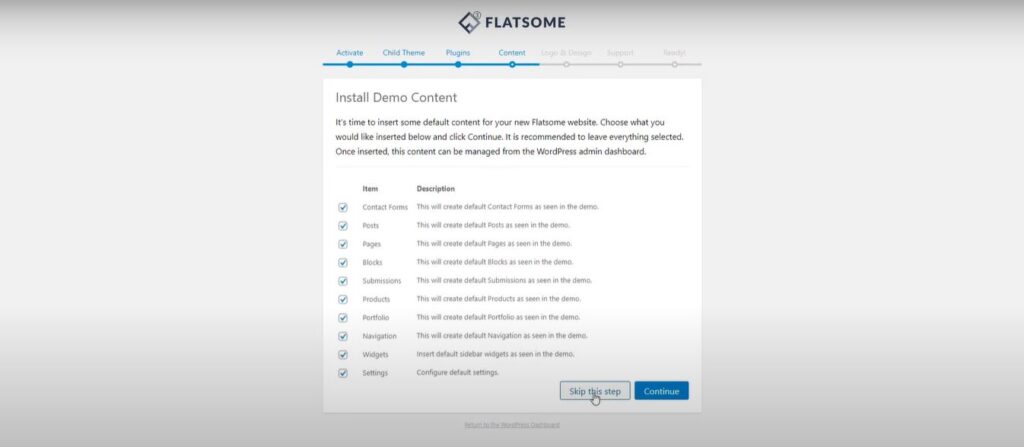
After that, we are taken to the content step. Here it asks whether to import demo content. So this demo content is not needed. Because we upload our content. So skip this step and continue.
After that, we can add our logo. If you don’t put it now, you can put it later.
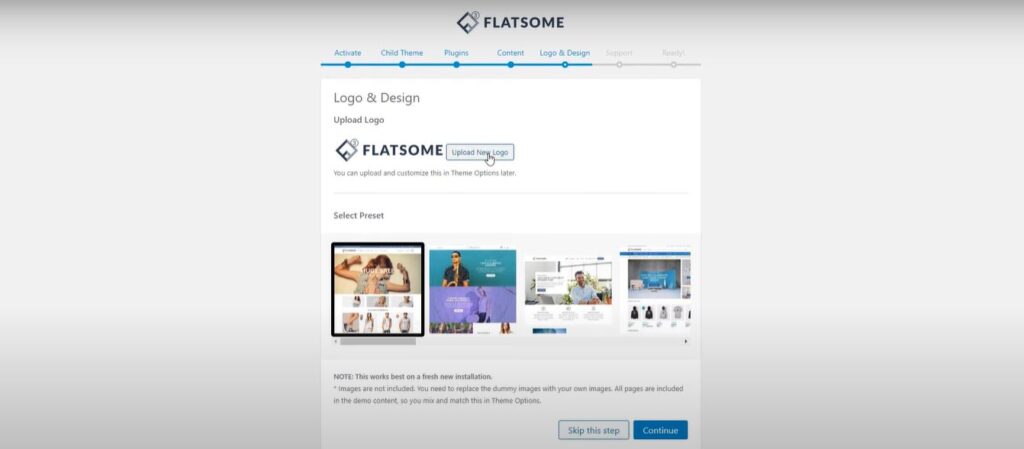
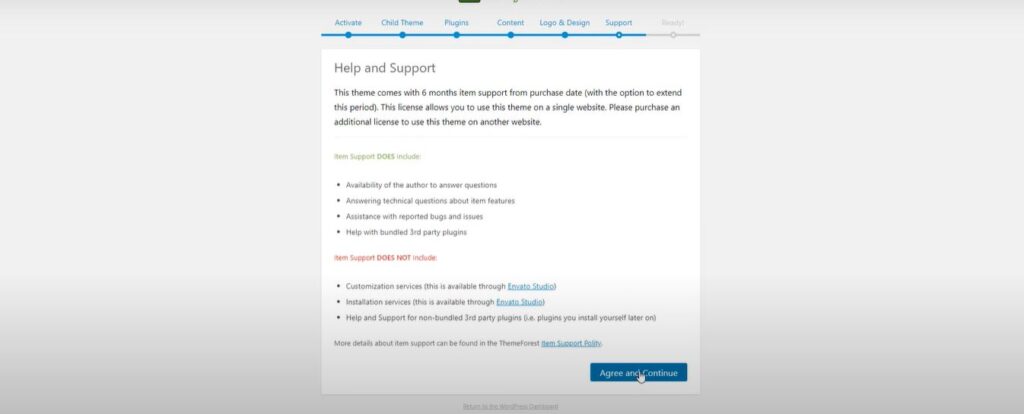
Upload the logo and click continue. Then give agree and continue.
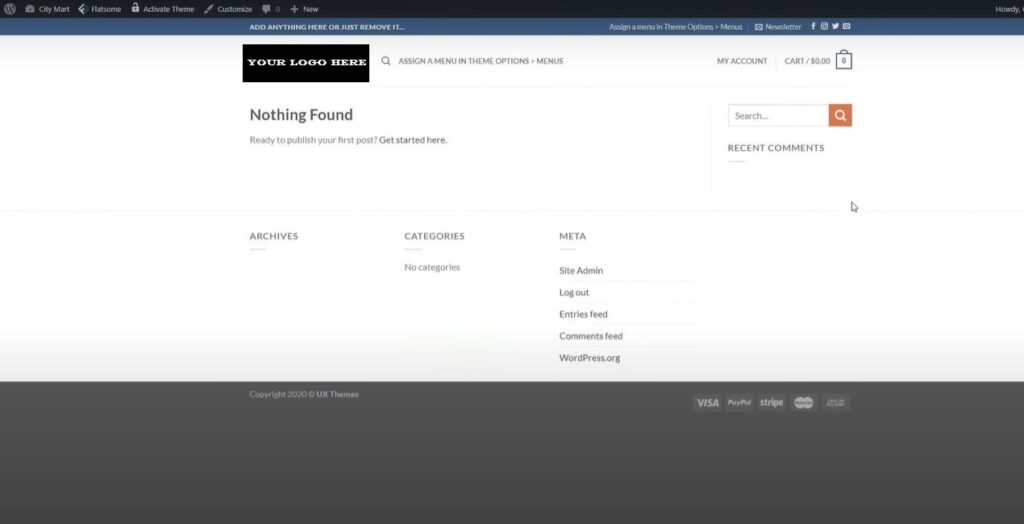
Now the theme is installed and set up. So now you can go to your online store. For that click view your new website. Then you can see a view like this.
Add products to online store
Now we can add products to the online store. For that, you need to go to the WordPress dashboard first. Then go to the products tab on the dashboard and click add new under it, then you can see the page where you can add a product name.
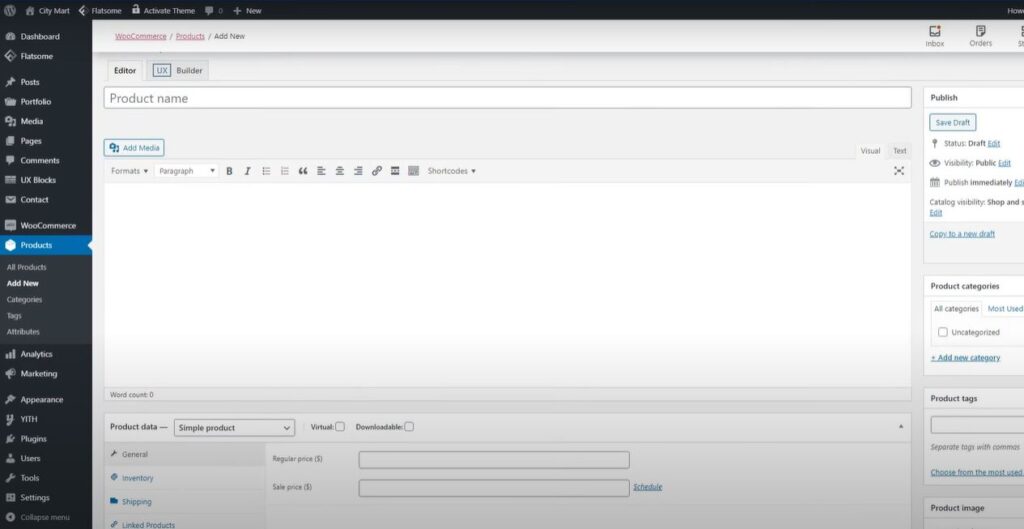
Now let’s see how to add a product first. For that, you need to give the product name first. After giving the name, the product description and short description should be given. Hope you can spot the difference between the two. Under the product data below that, you can mention the price of the product, the inventory, etc. if necessary. After that, after clicking publish, you can view the published product. It looks like the below.

Now you can see above the difference between a description and a short description. Something else should be said, under product data, the variable product category is used if the price changes when the color, size, etc. change. So this is how to add a product. And even downloadable products can be added.
So, according to the articles we mentioned before, we think that you can create the home page, header, footer, etc. here too. If you need articles to customize it too, we hope you will let us know.
Woo Commerce Setting setup
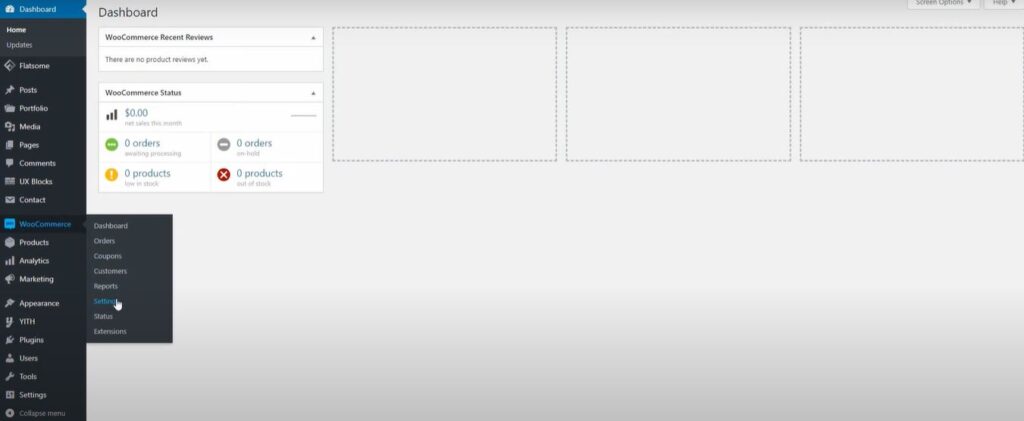
After that, you should go to the settings tab of woo commerce as above and make some settings there. That is, set the general selling location, shipping location, currency, etc. in a way that suits you and gives save changes. After that go to the shipping tab. This is very important.
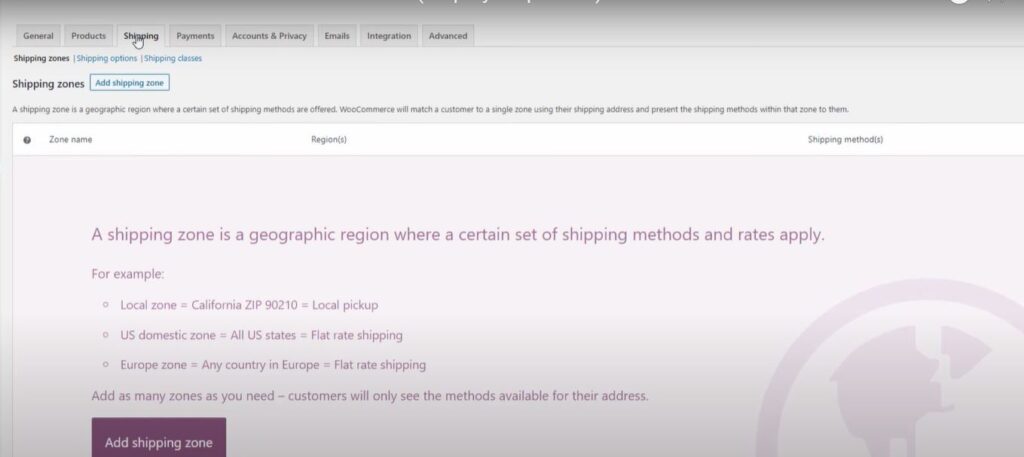
Then give save changes using zone name, zone regions, and shipping methods here. Then you can go to the payments tab as follows. Then you can look like this.
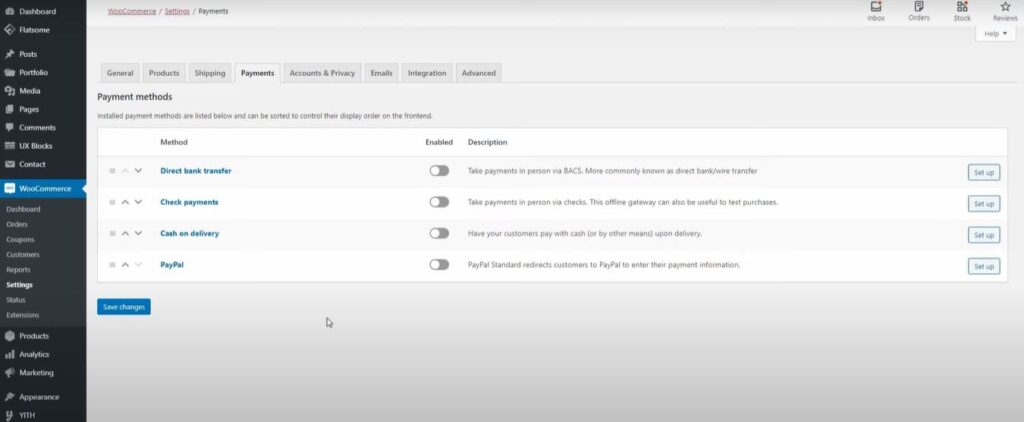
Here you can prepare the desired payment option. You can also add the PayPal you know here. After setting save changes and go to the account and privacy tab. What happens here is that a customer is given the option to create an account on the website. You can adjust the other option here as per your need. After doing the necessary things, give save changes. After that, you can see an email template. There you can change the option as needed.
So here are the options to be made as grants have now been made. So we think that how to create an online store is clear. Don’t forget to contact us if you have any problems or requests.